
This recipe is to make Scottish Shortbr--wait. I wrote it in the title--WHAT IN THE WORLD? MY SISTER JUST CAME HOME FROM COLLEGE! HOLD ON FOLKS, BRB.
~~~20 min later~~~
what's with all these distractions today?! hahahaha. Anywho, this is a simple shortbread cookie--just like the ones that have chocolate or jams melted on em. Does that make sense..? sorry for the bad explanations... anyways, this is REALLY simple, AND made with ingredients most people have in their house. Scottish shortbread cookies are traditionally baked in thin cake pans, and cut into wedges, and eaten plain, but this recipe is the TINIEST bit bland to eat alone--but I did anyway :) Feel free to add in more sugar, or if you want to put your own toppings on it, go ahead and just use the recipe written here! It's absolutely DELIGHTFUL with tea or coffee. Really simple and quick! Whip out a batch before your friends come over for a cup of tea or coffee! Enjoy!
INGREDIENTS:
-1/4 cup powder sugar/confectioner sugar
-1/4 cup regular sugar--preferably superfine
-2 1/4 cup plain flour
-1 cup unsalted butter
OPTIONAL:
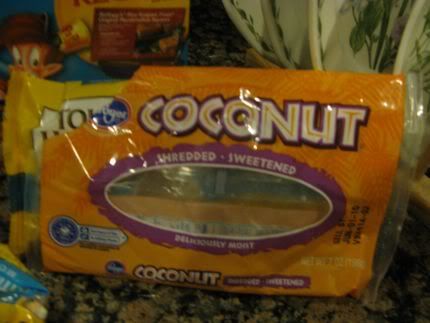
-Chocolate (white, dark, milk, anything) morsels to melt
-icing
-jam
I used Nutella as my topping on some of them... turned out a horrible idea. I don't know why I couldn't register in my head that Nutella was already melted LOL. So once I heated it up in a double boiler, it didn't melt much more, and on top of it, when I dipped the cookies in them, it wouldn't harden (duh). so it was ALWAYS moist, lol. Well, we learn from our mistakes ;)Plus, it wasn't that bad!
and...
WERE OFF!
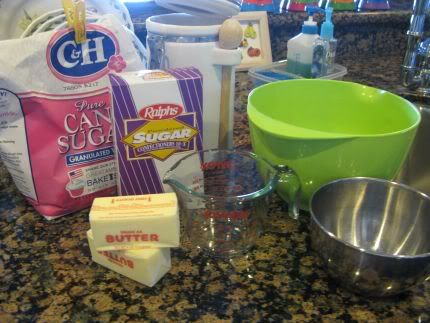
Gather up your ingredients homefries!
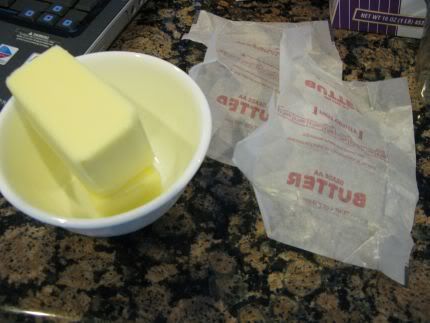
Go ahead and melt your butter :) but that's the cheating way... go ahead and just leave it out overnight and use it room temp! You don't need it for this specific recipe, but normally when baking, save your butter wrappers since it has some of the residue left on it--and spread it on your baking pan!

But as I said, I cheated :)
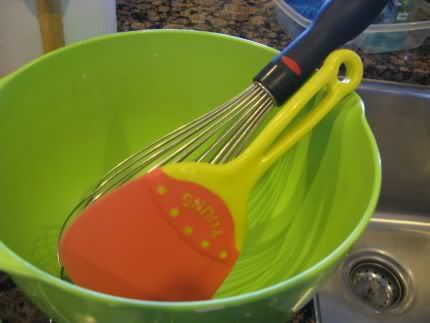
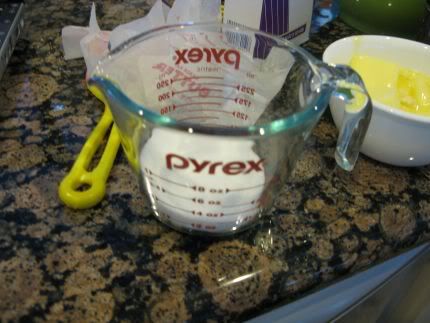
Take a large bowl, measuring cup, whisk, and spatula.
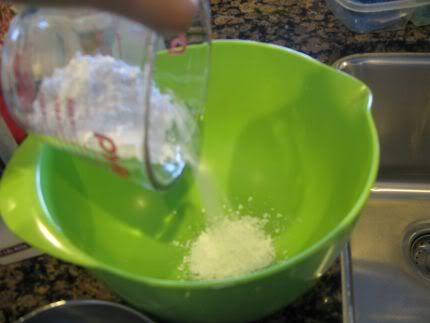
Throw in the powder sugar...
Now time for the regular sugar!

Because I don't have superfine sugar, I used normal sugar, and just used my whisk to smash them inside the measuring cup. Better than nothing!
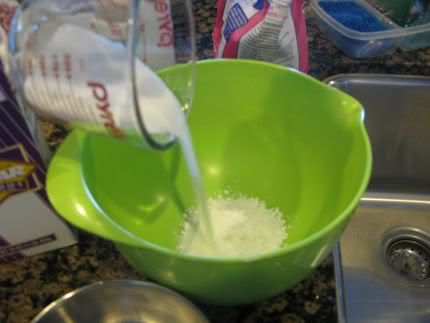
Add that in...

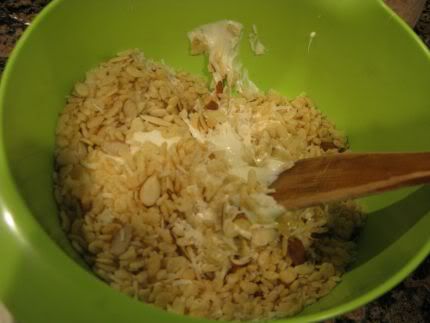
Add in your butter, and whisk away!
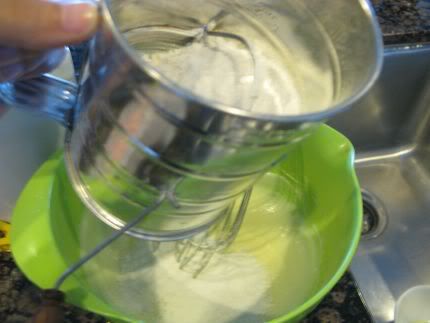
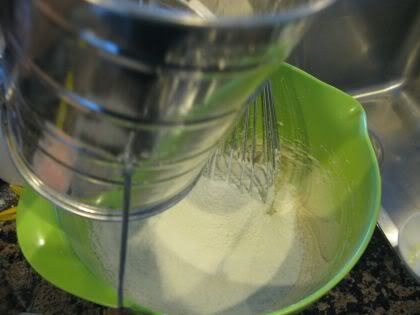
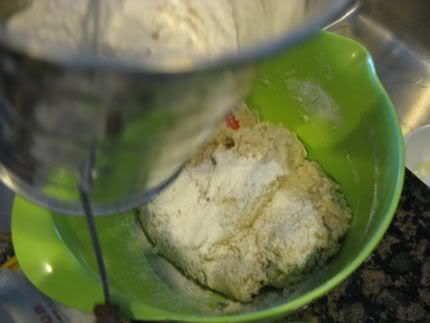
Now, sift some flour to cover it.
Go ahead and use your whisk, but soon enough, it won't be possible ;)

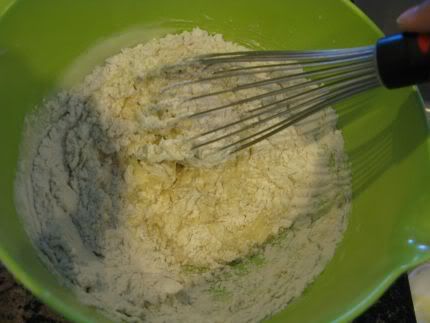
Getting thicker...
Do this many times as you need to! Use all of that flour!
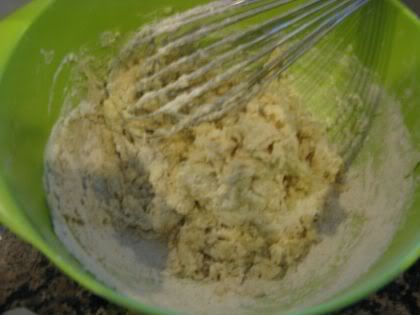
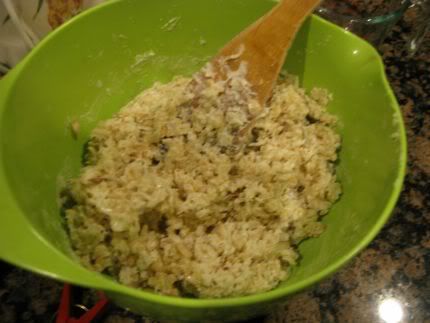
Alright, It should be impossible to mix with the whisk now.
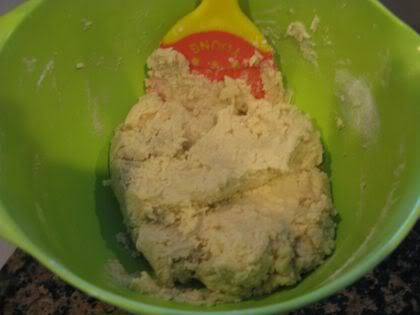
Take out the spatula and press it all down, mix it up, smash it, whatever!
Repeating the step one last time!
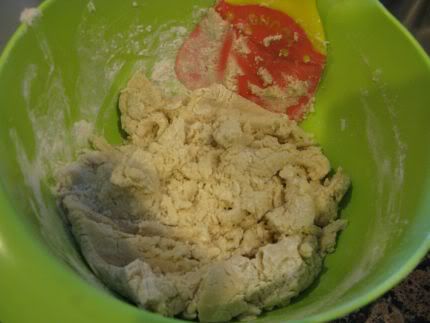
Finally finished :) If you're thinking, "what in the world? I put WAYY too much four in it.. now it's just crusty and falling apart..." That is absolutely correct!
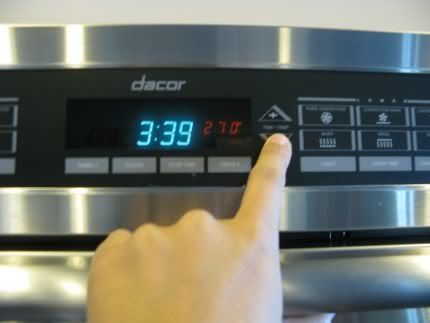
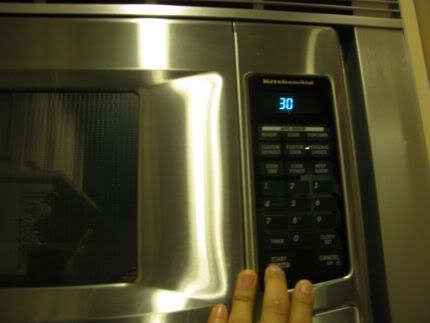
Go ahead and preheat your oven to 270 degrees Fahrenheit.
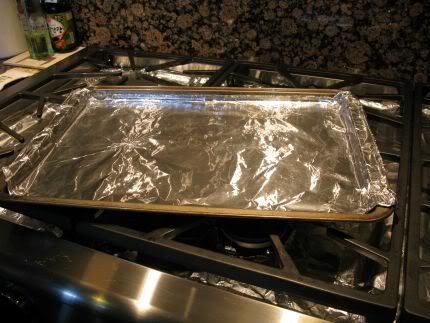
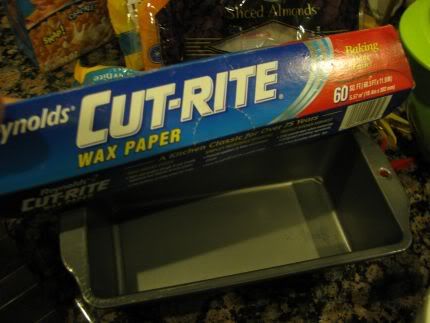
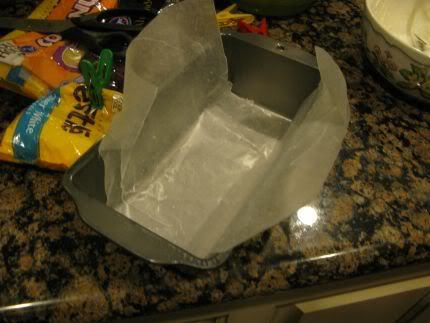
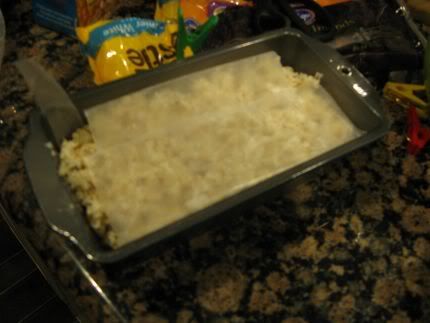
Cover your cookie pan! You won't need to grease it up because there's so much butter in it LOl.
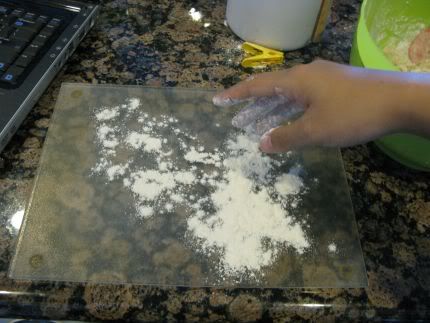
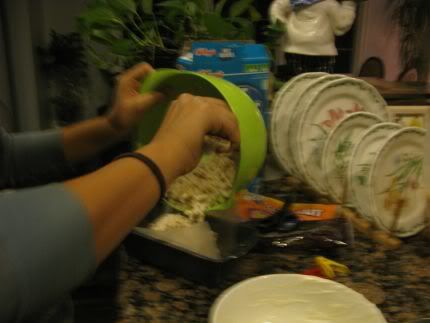
Cover an area with newspaper, magazines, w/e. Use a flat surface/large cutting board; as you see in the picture, I have neither covered my area, nor used a large board. Yeah. I learned my lesson LOL.
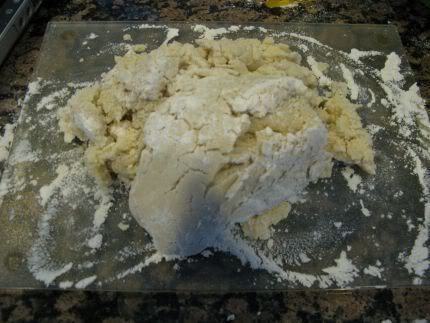
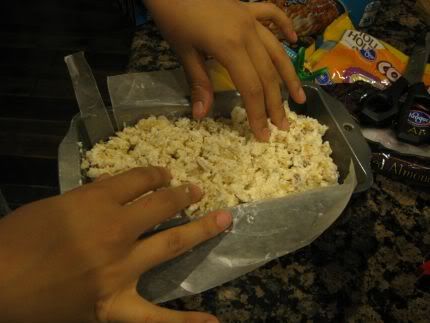
Dump out the mixture :)

Before you start smushing the dough together, just press the dough with your hands--the heat from your hands with melt the butter, and bind the mixture.
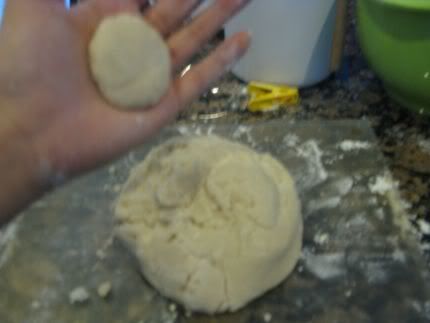
After you knead the dough for a bit, go ahead and shape/make your cookies. But work quickly! Touching the dough constantly will over melt the butter, and it will be a sticky dough, and hard to deal with.
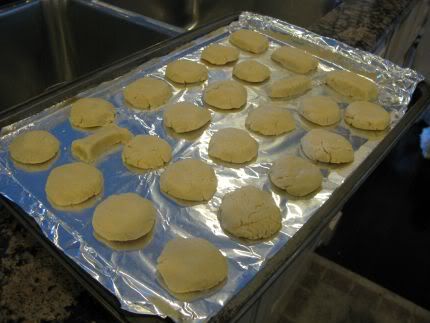
I was in such a hurry I made mine ugly and super fast (I was taking too long, and the oven had already been preheated--and was yelling at me I was highering the gas bill..) Can you spot the one for puppy Sebastian? ;)
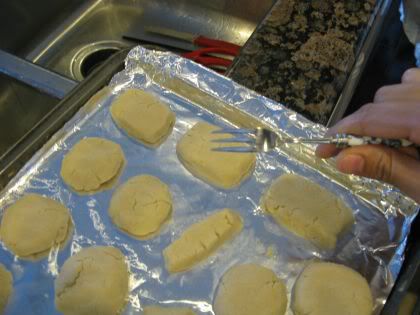
If you want more of a traditional styled cookie, go ahead and take a small fork, and poke holes in it :)
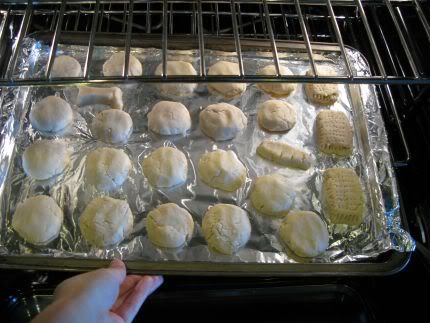
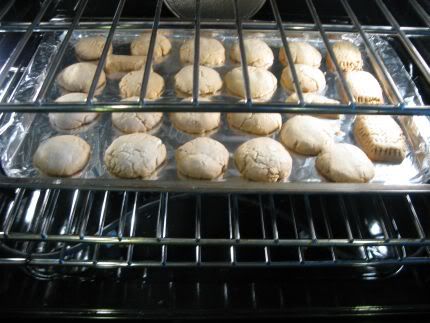
In they go for 35-40 minutes!

Pretty... I find immense pleasure in taking pictures of the food IN the oven. :)
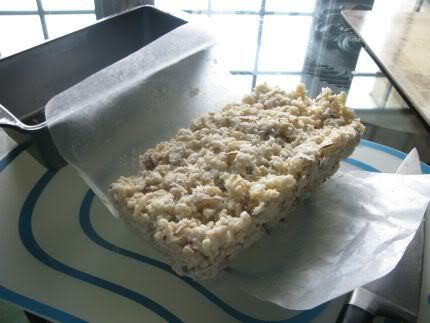
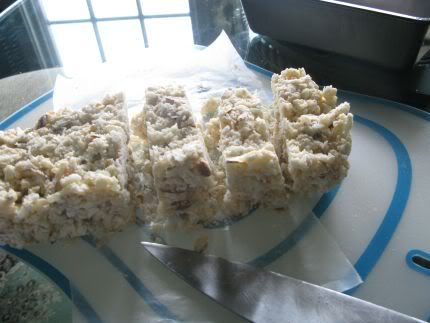
DONE!
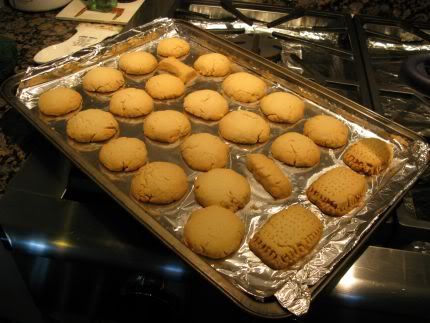
Let em cool off 8)
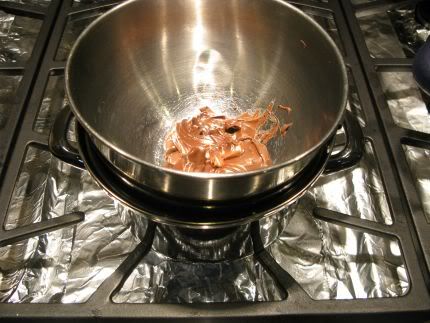
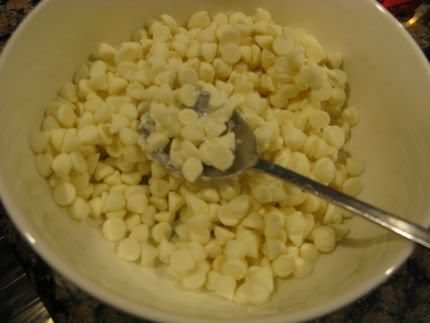
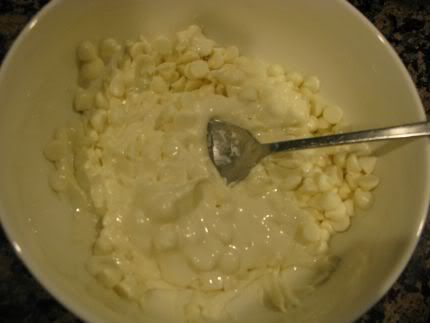
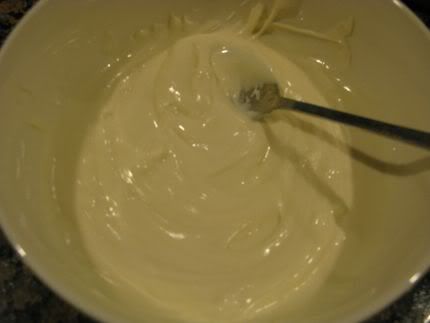
While they're cooling, bring out your double boiler, or that jar or jam! This part you can do anything you'd like. I decided to attempt at melting Nutella even more.
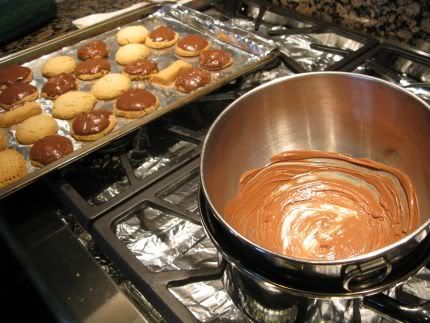
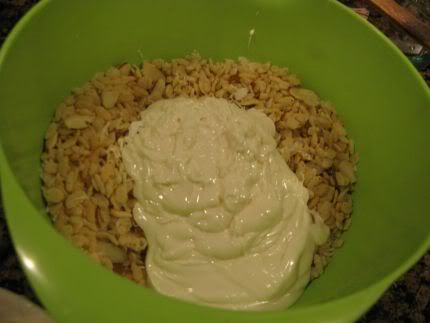
Covered some of em! DONE!
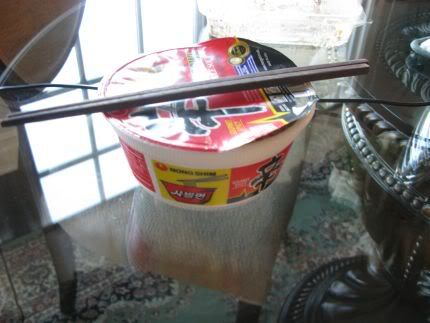
All this cookie smell and the sweet smell of nutella for over an hour was making me nauseated, so I made some instant Shin Ramyun Bowl :))
 Hope you enjoyed this baking post! The cookies turned out really yummy with coffee! The only other thing I would not do the next time I make it would be: not dusting the board with flour (I ended up with too much, so the cookies were a bit powdery to the touch). Also, I wish I put in a liiiitle bit more sugar. ;) Next time, Ill increase the sugar level for powder sugar to 1/2 a cup instead of 1/4 ;)) This is all if you want to eat them plain, btw. If not, follow these steps (except that dusting flour on board part) and top it with w/e! Also, I wanted to thank everyone who is reading my blog and supporting me with such lovely and nice comments. Thank you! This was originally made for my own satisfaction of posting pictures of makeup and food, but somehow, others found out about it. :) Once again, thank you! If you guys have requests, go ahead!
Best,
Jinna =)


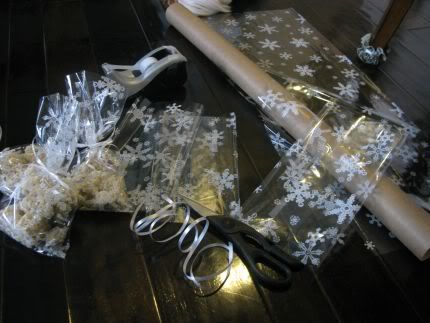
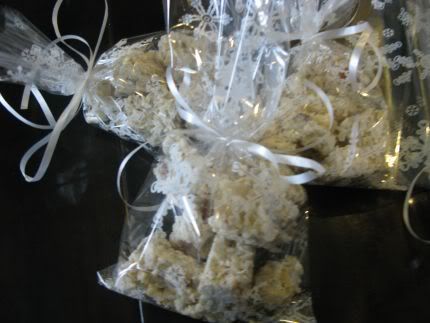
 I hope you'll enjoy this! This is so yummy... my goodness, I only got to eat one! And of course, you get so much fly-away/pieces that break off; you'll get to eat a lot of crumbs :p Try this out next time for a tea-party, party favors, special occasions when you're in charge with desert, or just to eat! See you all next time :) I have so many posts i've prepared for, but no time to post all of them! College auditions are attacking me, and I'm going to be SO busy soon. Going to Ohio, NY, IL, and SF! whoo! :) Wish me luck! <3