Then finally, it took over. I was so sick, I've been literally in bed for a week+. I don't think i've ever experienced anything like that! I couldn't get any rest because I wouldn't stop caughing..! what the heck? I couldn't eat anything, because I just had loss of appetite; but I needed to eat to take medicine!
Overall, it was HELL. I've been getting better, and I can actually get up and sit at my computer desk without coughing continuously :p I have the SYMF competition on the 25th of this month, and I just lost a week of practice, including all of practice/technique i've improved on in the past month...I'm so frustrated. I better do well this competition! The stupid organization removed the Lalo Concerto in D Minor from the category I was going to go into, so now I have to play some ridiculous Hayden in C Major -.- to top it off, my teacher put me in the Bach Suites division w/o telling me! jee. thanks. Just another piece to work off my arse.
well, enough rambling--here's a cool recipe that my oldest sister taught my mom for a church gathering, but turned out to be so awesome that she made it for me as dinner once =) I managed to get the camera and take tons of pictures of her making it x)
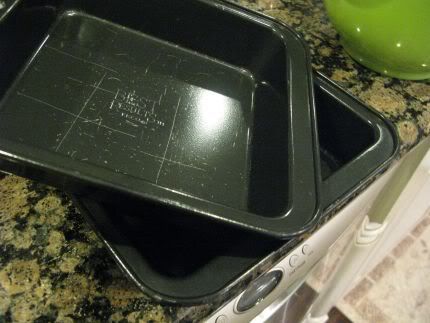
I don't have a list of ingredients and supplies this time, but just follow along the pictures ;)
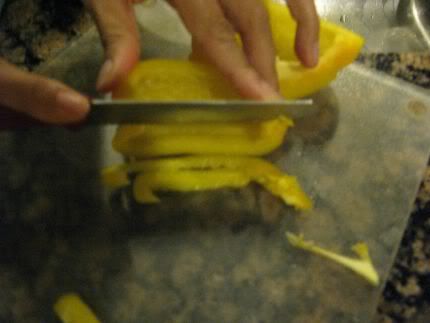
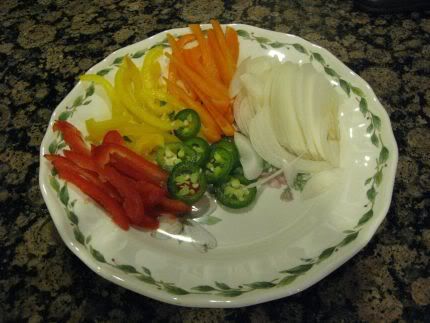
Cut up different types/colors of bell peppers; they all taste very different!
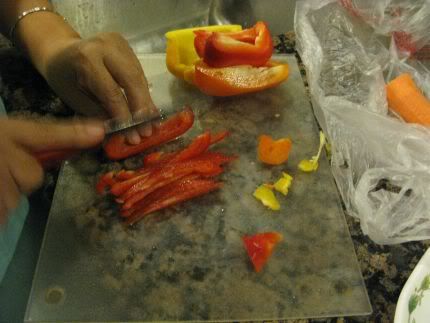
Also, cut up some jalapenos, and half an onion.
Get a potato peeler, and use it to peel and cut up some ginger! (this is an important ingredient--I hate ginger, so I didn't use it once, but I didn't get the same taste..!)
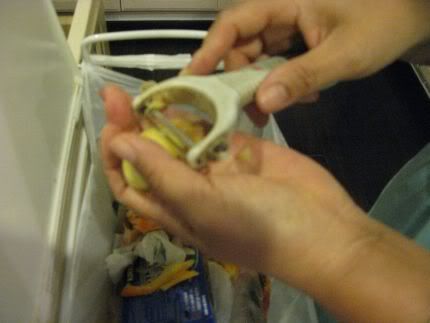

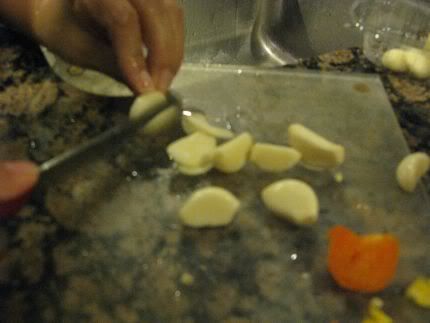
Don't forget the garlic cloves!
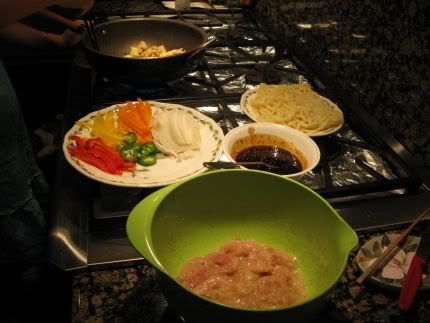
Here's our finished plate:

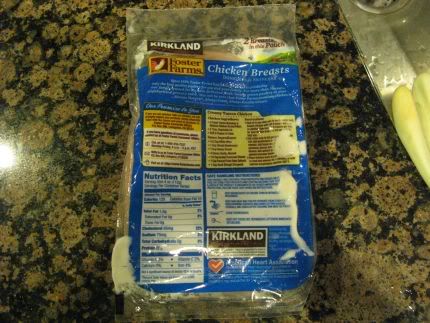
Now take some defrosted chicken breast--I got this at Costco :)
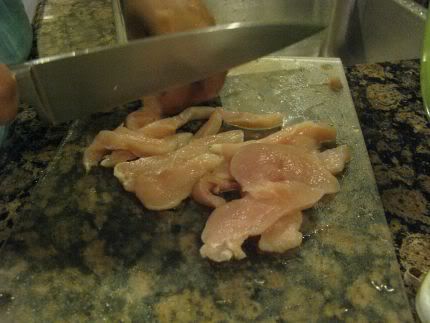
And cut it up into fine thin strips--about an inch wide.
And.. here's Sebastian getting all in the way :) <3
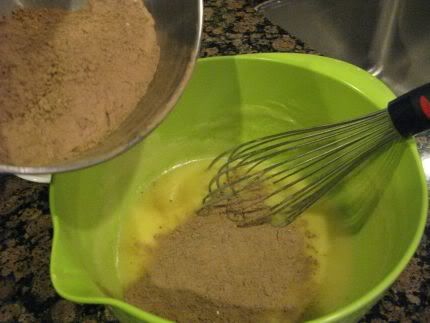
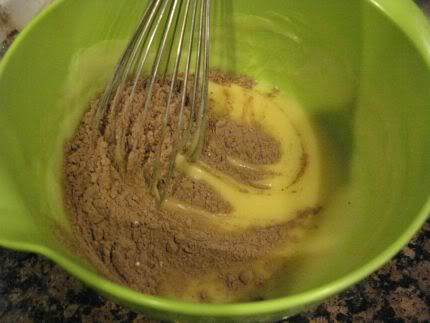
 Put the chicken strips into a bowl, add salt/pepper as well as an egg.
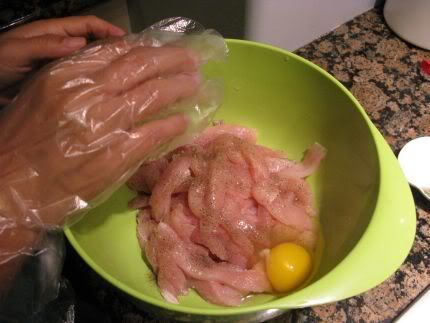
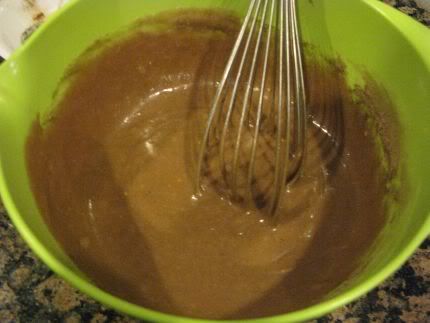
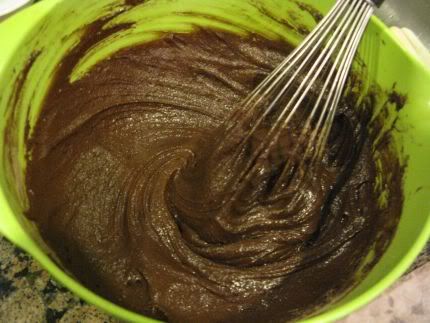
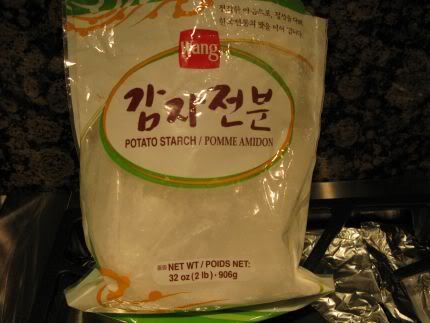
Take some potato starch powder, and add it until it becomes a gooey blob of chicken--you'll know when.

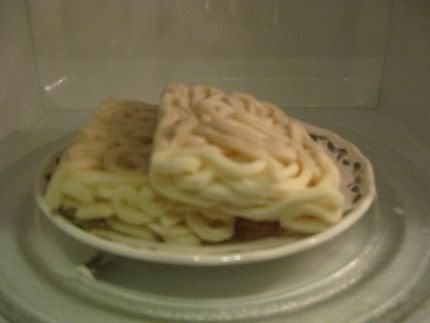
Now, take some udon--I used 2 because it was for 2 people. And Remove it from the plastic rapping.

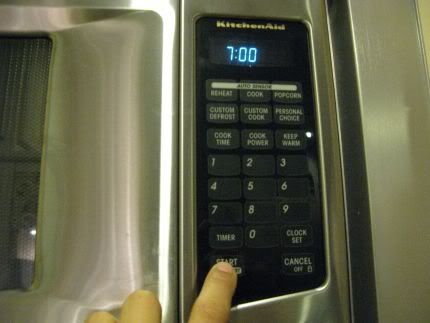
And stick it in the microwave for 5-7min (depending on your microwave); we're not only defrosting it, but cooking it as well in the microwave, so that's why it's going to take a bit.
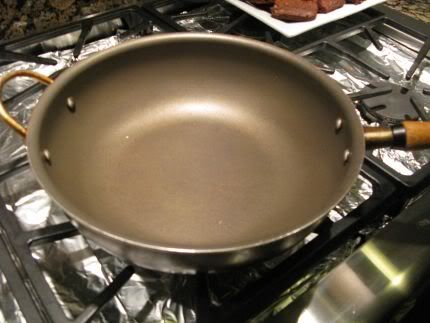
Now, taking a wok/deep, wide-set body frying pan, fill it up with a cup of vegetable oil.

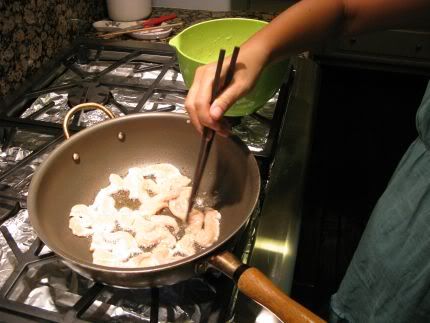
Now, add and fry that chicken!
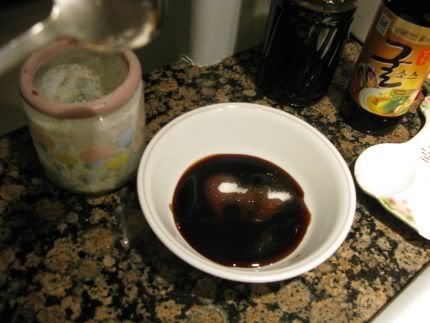
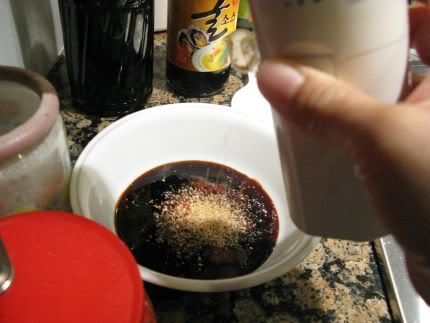
Next, take some oyster sauce, and dilute it with regular soy sauce. The amount will differ on how much you're making, but basically, keep in mind, there will be twice as much soy sauce than the oyster sauce. (ie. 3 tbsp oyster sauce, 6 tbsp soy sauce)

Add some sugar--I added 1 1/2 tbsp since it's just me and my mom; remember, always add more as you go on, since it's always easier to add, but harder to dilute it.
Add 2 tsps of minced garlic.

Some chili/red pepper powder...
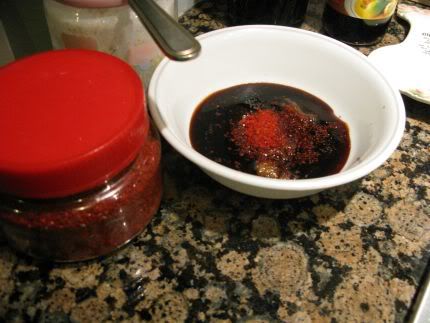
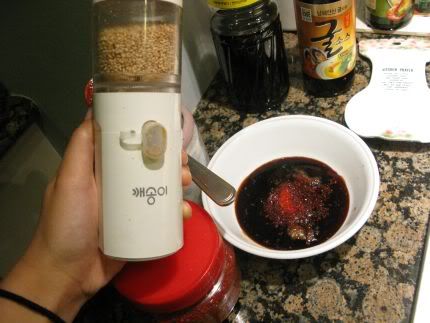
Using a sesame seed grinder, put a good amount it. (It's okay if you don't have one, just add the seeds in whole)
Also, add a couple whole ones in there.
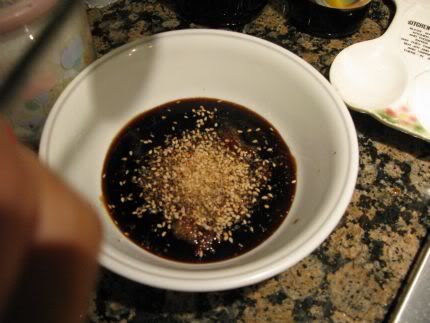
Mix it all up~

Now, let's get started! ...Well, finish it! By now, the udon should be cooked and brought out.
Once the chicken is cooked, add in the garlic & ginger.
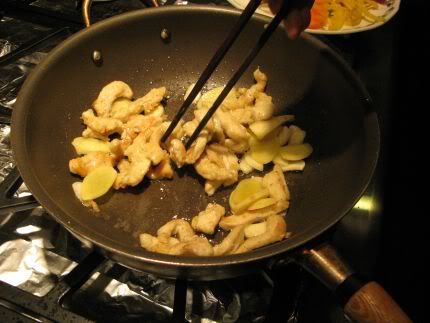
Add the onion...

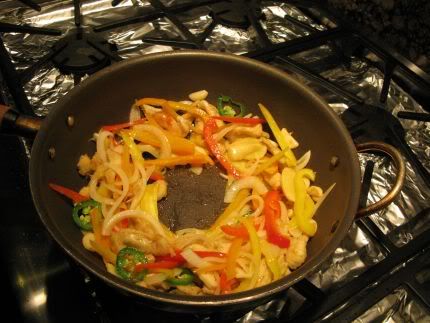
And add in all of the other ingredients!

Once it's all cooked, create a small circle in the pan...
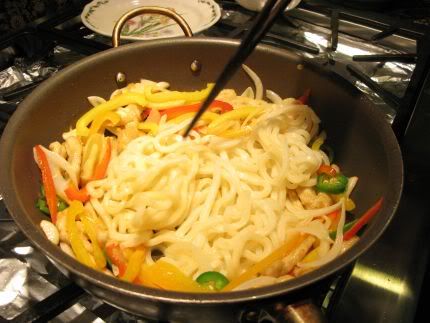
Add the udon in the center...
And add the sauce, mix it all in, and cook it.

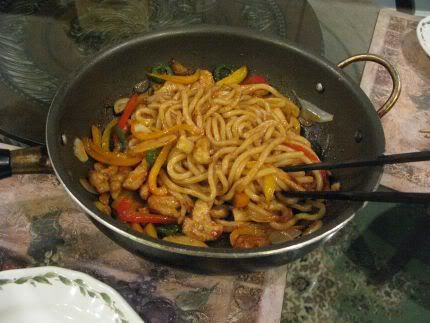
Finished! yumm :)


And.. a special thanks to my mom for cutting up all the veggies and doing the boring parts! =)
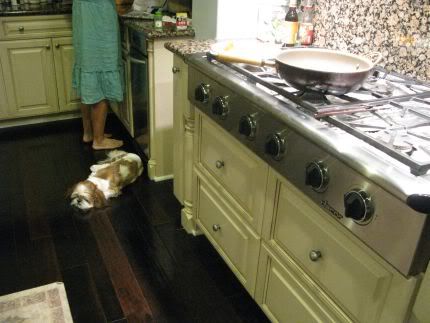
ROFL, he was getting upset that we weren't giving him any goodies to eat while cooking :p He refused to get up from that spot, lol.
I did make some Tiramisu, an Italian desert, but I couldn't find my camera, and didn't take any pictures--but i'll make sure to find some substituting pictures and post a tutorial on that~
Also, I've been trying out a DIY egg mask for a couple weeks, and i'm liking it so far, so i'll post that up too!
Till next time!
~Jinna