Ingredients:
-2 slices of bacon
-2 tsp of minced garlic
-2 tbsp of butter
-1 onion
-1 green onion/spring onion
-1/3 cup of fresh basil (I used dry because I forgot to pick some up!)
-250g (8oz) of Ricotta
-325g (11oz) of Penne Pasta (or any other pasta)
-1 Cup of cherry tomatoes--halved
-half & half cream (the kind for your coffee!)
-Any grated cheese of your choice
Optional:
-Pico de Galo/Salsa
-Garlic Bread
*Sorry if you feel like i'm constantly going back and forth between the sauce, pasta, and chopping--I've put up the steps in the order which they happened to me.
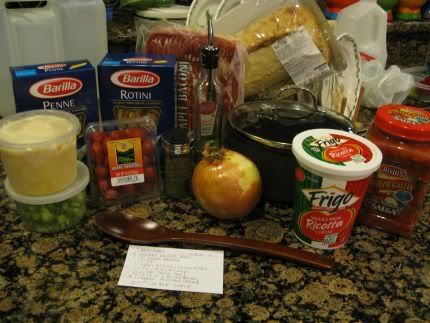
Gather up your ingredients!
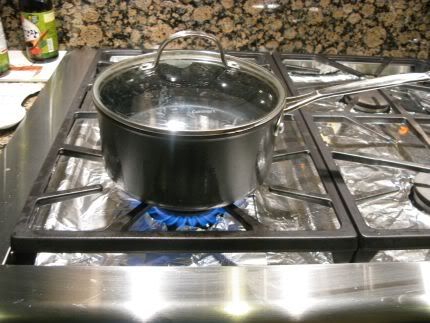
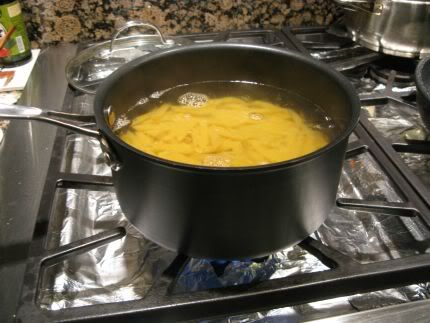
First, boil some water for the pasta!
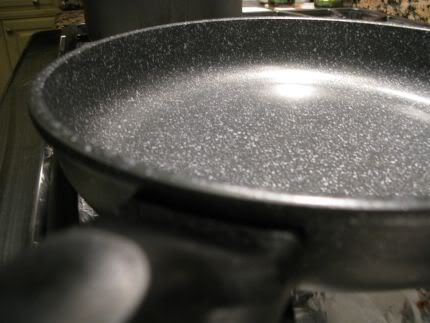
Also prepare a pan with a semi-deep, wideset body for the sauce we're going to make.

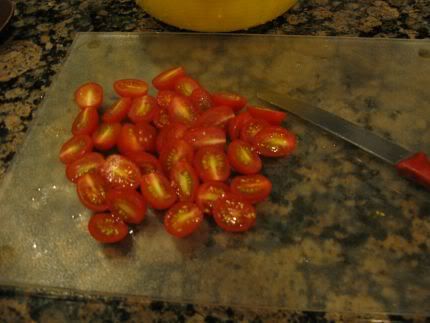
Take those cherry/grape tomatoes, wash em, and half em!
By this point, your water should be at a nice rolling boil.

Well?! What're you waiting for! Put in how much you and your partner want to eat!
Now, since it's not boiling anymore, lets go back to the chopping!
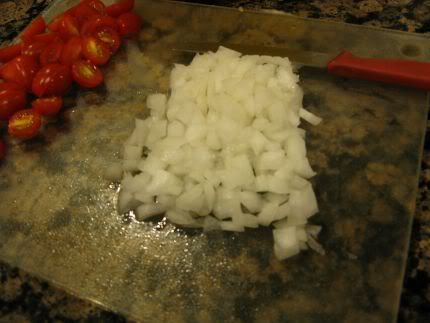
Chop up them onions!
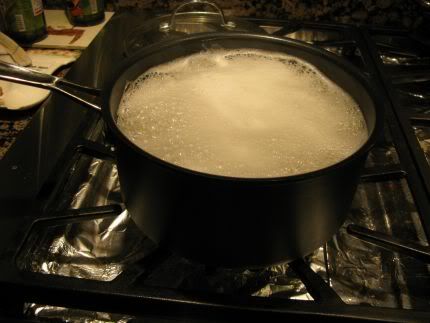
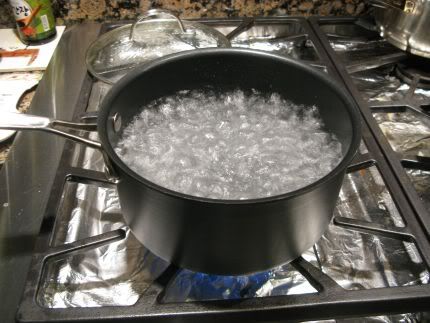
By now, the water should have come back to the boil--but this time, with foam that threatens to overflow C;
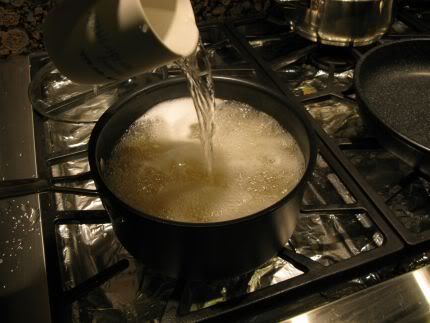
This is a secret I learned from my mom from boiling noodles--just throw over some cold water on top of the foam! It'll settle down, and come down to the slightest little boil.
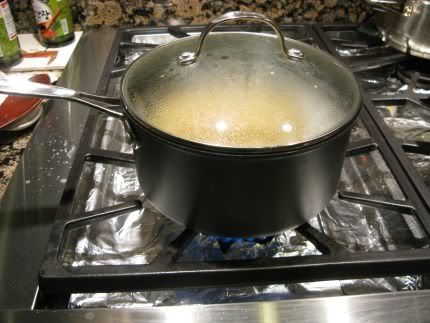
Throw the lid on, and let it sit! This will speed up the process of cooking your pasta by a long run.
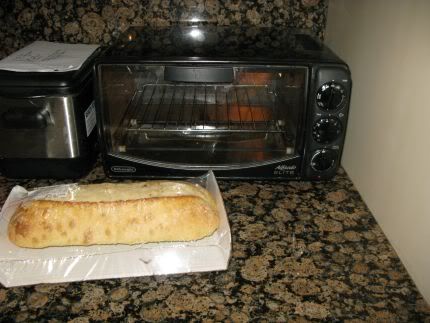
This is optional, but if you want to have some garlic bread with your pasta, this is the time to toast it! I'm lazy, so I went ahead and bought premade garlic bread.
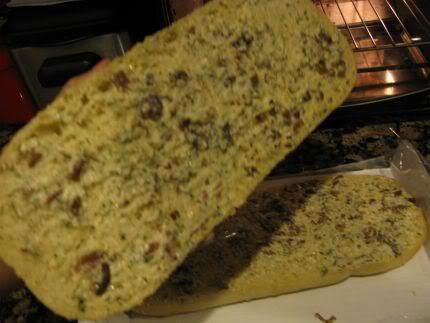
It has butter, roasted galic, herbs.. oh man. i'm getting hungry.
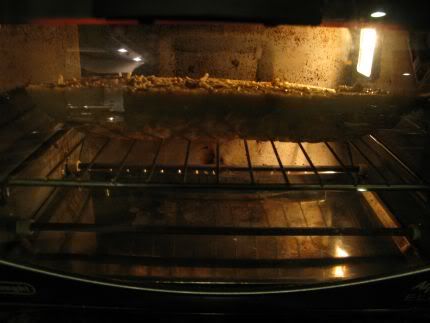
And pop it in a little conventional oven! It doesn't take a rocket scientist to know when it's done...

Before your water wants to overflow again, take off the lid, and give your pasta a stir. Make sure you try it once in awhile to estimate how much long you need to cook it!

Now, take out your bacon slices!
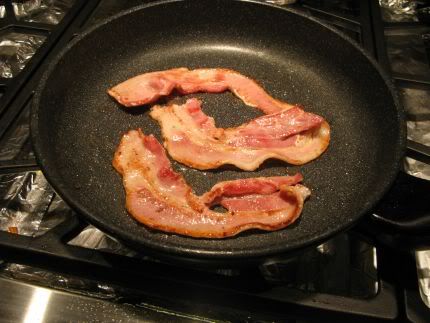
Cook them in the saucepan that we're going to use for the sauce!
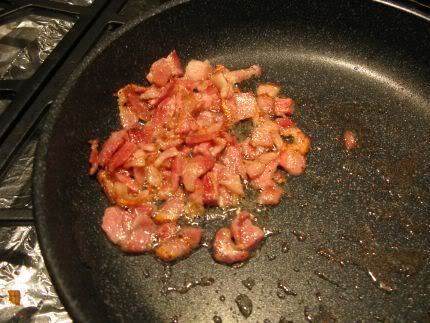
Cut up the bacon into little bits with a scissor. We do this after it's fully cooked, because raw-anything will refuse to be cut.
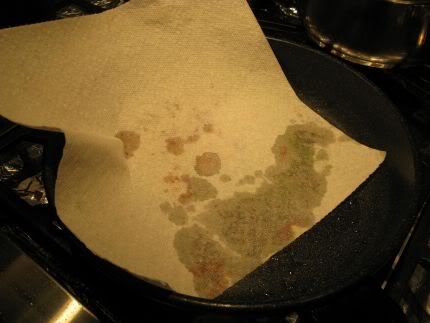
Take a paper towel and blot the excess oils!

When that's done, throw in your onions, tomatoes, minced garlic, basil, salt, pepper, and green onions.
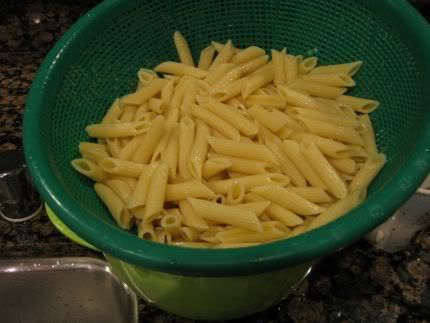
Before you do anthing else, make sure you don't over cook your pasta and drain it--SAVE THE DRAINED WATER! We will use it for the sauce!
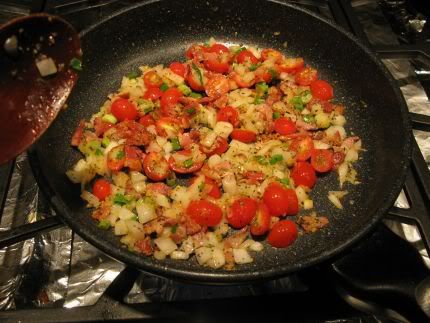
Add in your butter, and sautee your ingredients real good.

Finally, add in your ricotta, shredded cheese, and half & half. I won't say exactly how much--you'll know how much by looking at the consistency of it. Also, ladle in your drained water from your pasta to dilute it a bit. This way, the water isn't plain water, but still has the flavors from the pasta leftover. Finally, add in your penne! The more you mix, the better the sauce will become incorporated with the pasta!
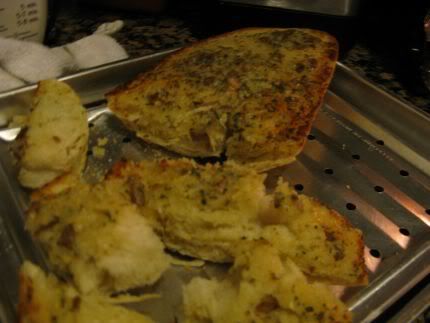
Make sure you don't burn your bread!

Now, transfer the pasta into a serving bowl.
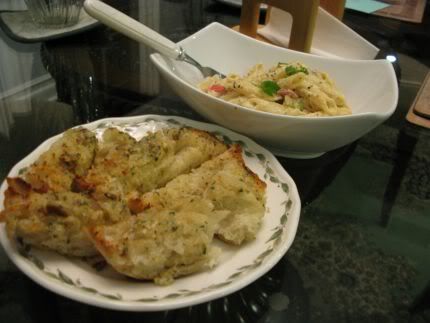
Serve it with your garlic bread C:
Finished!
This is a very quick and easy pasta recipe that you'll absolutely love. You can control how thick/watery your sauce will be by adding in more half & half to dilute, or more ricotta to thicken. Remember, you're unlimited to what you want to put in! If you're not a fan of bacon, throw in some chicken! Or if you're a fan of seafood, go ahead and throw in some shrimp, muscles, clams, or even tuna! As you've seen, i've included pico de galo in my optional list! Sometimes, pasta can get a bit dull for me, so I like to eat it with a bit of salsa. You have endless possibilities!
Bon appetit!
-Jinna
Stay tuned for some great desert recipes!