-->

Wednesday, October 21, 2009

What's In My Purse: Travel Beauty Kit to Korea ;)

Hey all C:
This is just a post on what skincare and make-up essentials I brought along with me on my trip to Seoul over the summer break. I didn't bring much of anything, since the weather is so hot and humid in Korea during the summer, I knew I wouldn't be wearing any make-up. Also, if I wore eye make-up, all the people would think I'm some rebellious daughter, since most girls my age there would be at a point in their lives where they have to study like no other to get into college :P

So here goes!
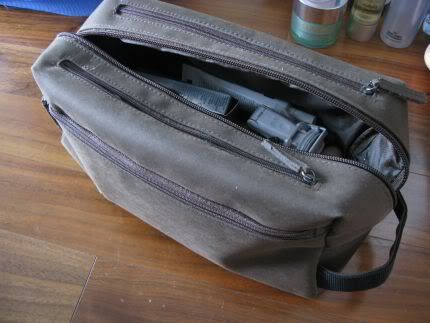
This is my travel beauty bag :) It fits EVERYTHING in here!
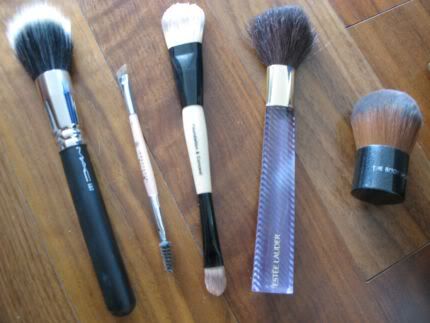
These are the only brushes that I bought with me--all face brushes! I did also bring liner brushes, but they aren't photographed. :) From the left: MAC 187, Anastasia Brows Mini Duo Brush #7, CVS Concealer/Foundation brush, Estee Lauder Blush Brush, & The Body Shop Kabuki Brush.

Here's the foundations I chose to bring along--MAC Mineralize Skin Finish Natural, Afterglow Cosmetic's Mineral Foundation, MAC Studio Fix Powder,& Sally Hanson's Spray Foundation (AMAZING!! review comming up!).
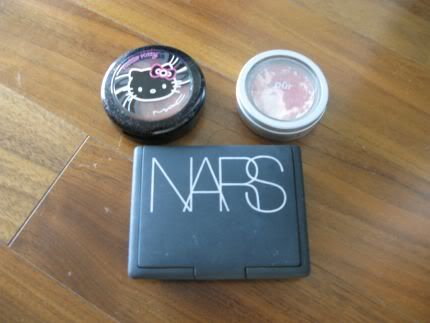
Blushes! Pur Minerals' Marble Blush Powder, NARS Orgasm/Laguna Duo, MAC Hello Kitty "Fun and Games".
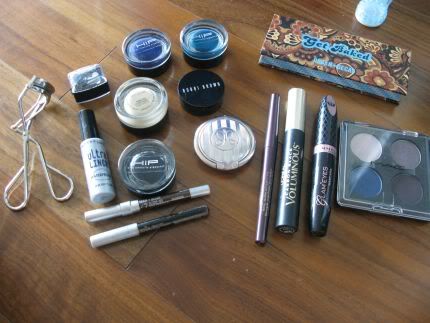
And.. just a couple things for the eyes :) I went wayy overboard on bringing so many eye products, when I couldn't wear them half the time :p

Now.. for skincare!
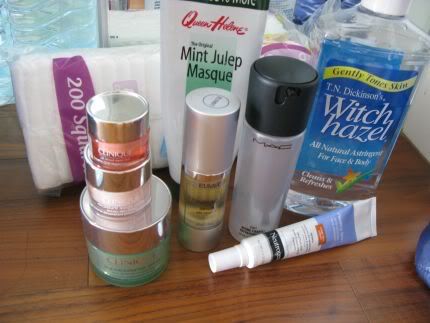
I bought along...
From the left: Clinique's All "About the Eyes Rich" Eyecream, "Moisture Surge Extra" Gel Moisturizer, "Superdefense SPF 25" (yeah, it's spelled with an "s"!) for combination oily to oily Skin types (there's so many types for this same product!), EUMIA "Clarifying Serum with Vitamin A", MAC FIX+ Spray, T.N. Dickinson's Witch Hazel, Queen Helene's Mint Julep Masque, Neutrogena "Healthy Skin--Anti-wrinkle/Anti-blemish" clear skin cream, & my St. Ives Apricot Scrub "Blemish & Blackhead Control" (not pictured).
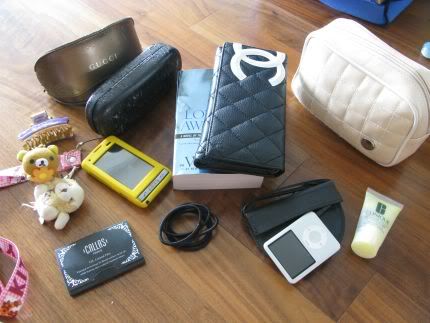
Here's all the rest of the junk I carry in my purse! My Ipod, make-up bag, book, wallet, cell, moisturizer, hair ties, oil blotting paper, sunglasses, and glasses! Yeah, I carry a LOT of things. If you look carefully, you can see both my sunglasses' and glasses' cases by Gucci are DESTROYED by my dog's teeth. Damn, he loves those leather cases...
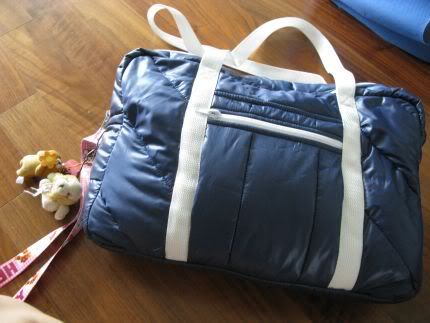
And they all snuggly fit in my bag! I got this from American Apparel--you can buy it online or at their stores (http://www.americanapparel.net). Isn't it adorable?! They also have it in leather and in different colors, but I like this one alot. C;

On a side note, I managed to pick up Lancome's Virtuose Mascara at the Duty Free store in the airport! It's absolutely fantastic for volume, but not much of a lengthener! I have to use a legnthening mascara with it to produce my desired outcome. The brush is curved--the hollow side for volume, and rounded side for legnth!
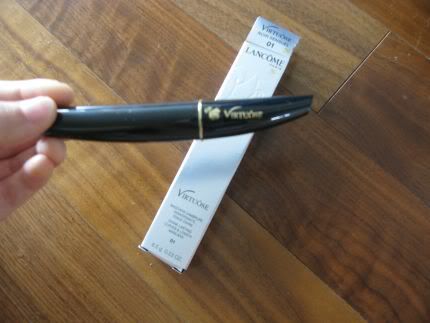

Here's to those who love them beauty hauls!
Cheers!
~Jinna :))

Tuesday, October 20, 2009

Review: Miss Rose Palette

So! I received this palette awhile back, but never had the chance to post about it! This palette is by Miss Rose, a Chinese brand manufactured in Hong Kong. I purchased it on Darline's blog sale site--http://whatever-darl.blogspot.com/ check it out! She has everything from clothes, shoes, leggings, to makeup!

I first ran into this palette in one of RoseBabe's videos. If you're not familiar with her, she's a guru that is highly underrated on Youtube. She is just fantastic. I saw a couple of her looks made with this palette, and it just sent me bonkers to find it. After MONTHS of searching, I was FINALLY able to get my hands on one of these. Miss Rose has other palettes, but I like this one alot. You can purchase them on ebay by searching "wet eyeshadow".

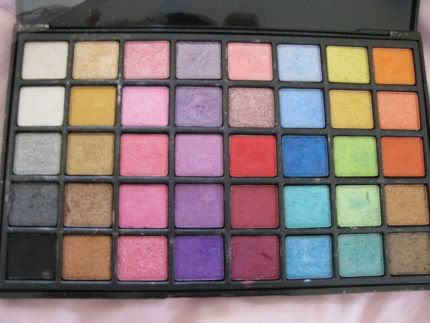
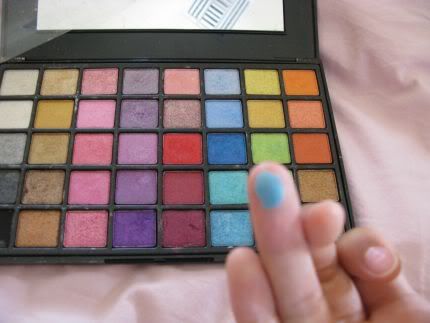
SO! This palette has a wide range of colors--from champagnes, pinks, golds, silvers, blues, greens, purples.. you name it! It has graduations from a highlight color to an intense liner color. The pigmentation of this is absolutely fantastic. You can either use it wet or dry, but using it dry already looks like it's wet when applied! The colors are SUPER vibrant even without a base.

All of the colors are shimmery. The texture of the shadows are very sponge-y. As in.. if you pressed down on the pans, your finger would leave an indent in it. There is a bit of fallout, but it's worth it, and doesn't waste product. You don't need much!

Here's some pictures!

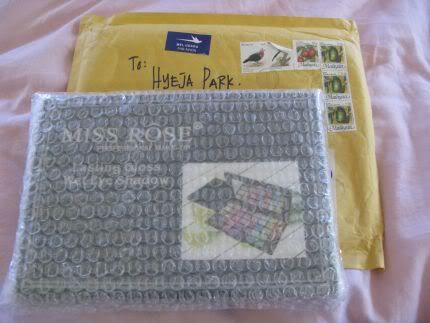
Woot! Finally got it. (yeah yeah yeah, my mom's name is Hyeja. That's what you get for using her credit card!)

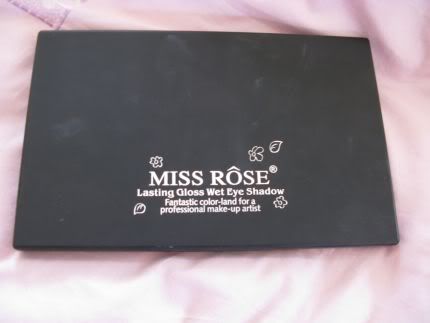
Here's the outside--the case is really sturdy!

Here are the colors! Aren't they vibrant?!

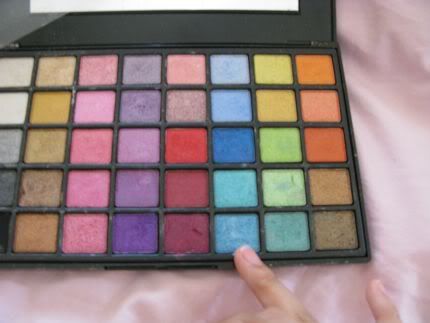
Selecting this blue/green color...

I BARELY ran my finger across the pan, and look how vibrant the color is!

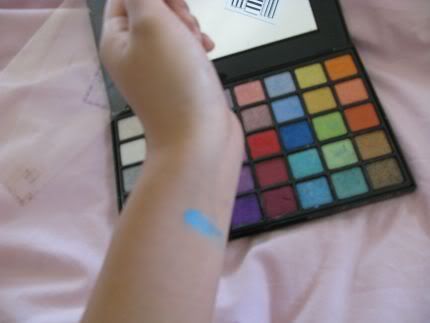
Here's the swatch-- I have no primer/base on my wrist!

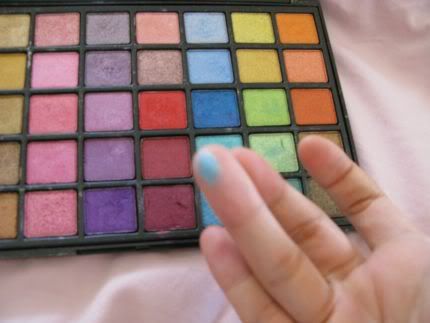
After all that, look how much there's left on my finger!

Overall:
Quality--9/10 (I really don't like the fallouts, it gets messy)
Texture--10/10
Pigmentation--10/10
Packaging--10/10 (for a palette!)

Comments:
I wish some of the colors weren't shimmery! Since they all are, you can't really wear an of these fantastic colors in broad daylight. Save em` for those clubbing nights or for a fun night out!

~Jinna

Cooking Tutorial: Soba/모밀 국수

Hiya all~ C:
Yeah yeah yeah, I know, it's been awhile since i've been back from Korea, but I've been so busy with cello stuff I haven't been able to sit down and spend the time to upload/resize pictures. But.. now I do! I'll have my pictures from korea posted soon (most of the pictures were taken on my sister's dica, and she's at UCI, so I don't have alot of them :/ )! I also have this AMAZING new palette to share with you guys :)) Along with a new baking tutorial! whooo! keep em` comin`~ hahah :D I also have a DIY facial mask comming up, so stay tuned!!
Alright, enough with the chitchat. This is the EASIEST thing to make on a hot day! I know when the weather is unbearably hot outside, you don't really want to spend much time in a hot kitchen. This recipe is for Soba! Soba noodles are made from a type of root/buckwheat, and are not flour noodles. So even after you stuff yourself with it, you won't feel all groggy and gross :) It's healthy!
Here's what you'll need:

-Buckwheat Noodles
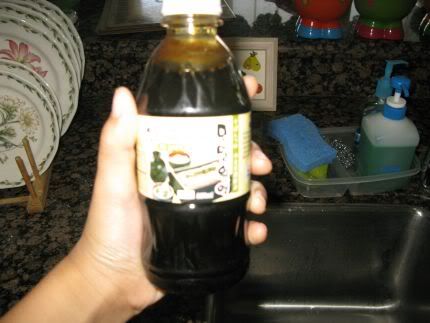
-Soba Soy Sauce (you can buy this at any asian stores C;)
-Radish (optional)
-Plain nori/seaweed/김 to garnish (and tastes good~)
-Green Onions

So let's get started!

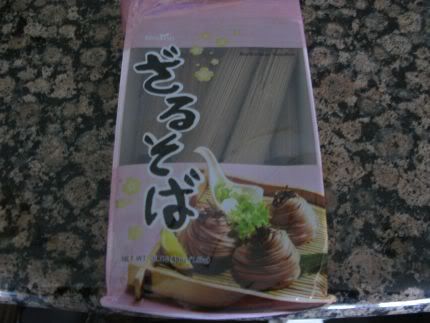
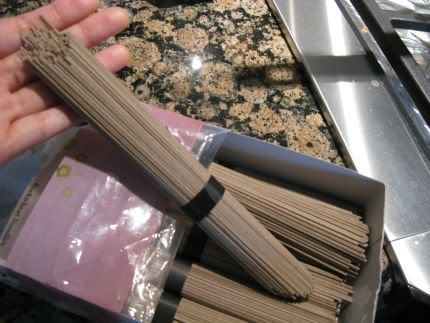
These are the noodles that I'm using.

Boil a bit of water depending on how much of the noodles you're making. Remember, boiling more is always fine, but being short on water always makes things a hastle! (the opposite for making ramen/라면 X) )

The brand that i'm using actually already divided the serving portions, so I made 2. (since it's me and my mom!)

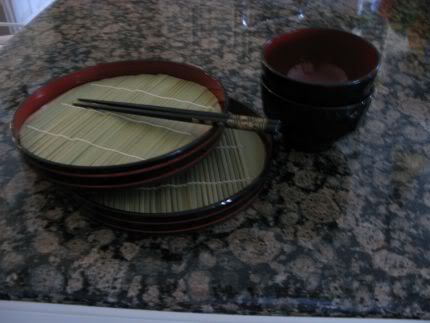
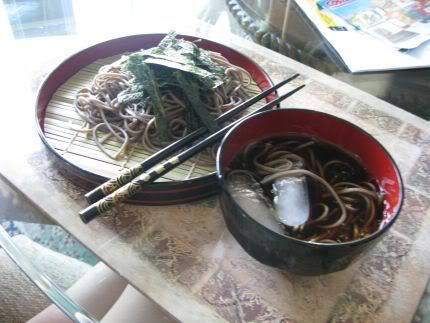
Now.. whip out those traditional soba dishes! (Of course, this isn't necessary.)

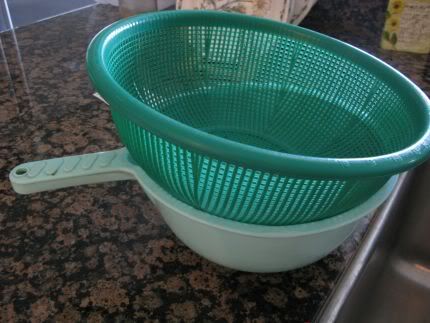
Now, once the noodles are done, prepare a drainer and large bowl.

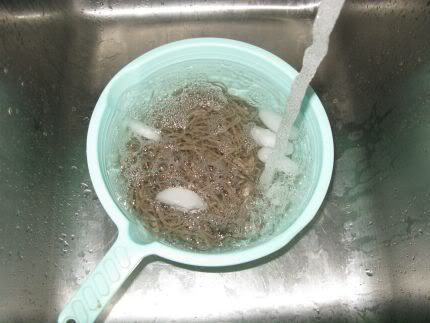
Drain the noodles, and wash them in icy cold water!

Now.. prepare your dipping sauce! Try going 1/2 of the base and 1/2 of water mixed together. Here is where you would add your radish shavings--(it always tastes better with them, but I ran out!). Add ice if it's not icy cold.

And Serve! Seriously, how easy is this? What a lame post.

This is a perfect way to cool yourself down a really hot day. =) It's quick, and it's yummy!

Update later!
~Jinna

Saturday, August 15, 2009

Baking Tutorial: Pound Cake! :3

Hiya there =-) I haven't updated for a LOONG time due to some interference from my cello life, hehe. Well, I've come back with a new recipe: POUND CAKE! Pound Cake is absolutely one of my FAVORITE deserts/pastries. It literally tastes like sweet butter. Sounds ultra fattening, but it's good to indulge yourself once in awhile ;) Ya hear me?

Pound Cake originally got its name from the fact that all of the ingredients are a 'pound' (lbs) each. But to make it more realistic, I've put the measurements into cups so you don't have to go search your kitchen for a scale + an extra dish to wash afterwards :p
Enjoy!

Recipe:
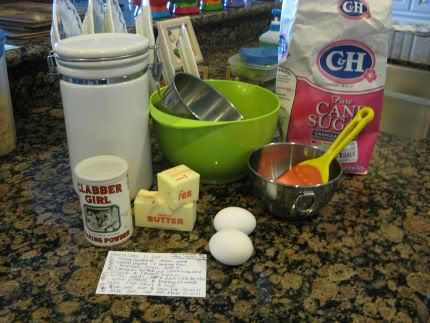
-3/4 Cups Flour
-3/4 Cups Butter
-3/4 Cups Sugar
-2 Eggs
-1 Tsp Baking Powder

-Wax paper
-Bread pan
-Plastic/rubber spatula
-3 Bowls
-Sifter


Gather your ingredients...

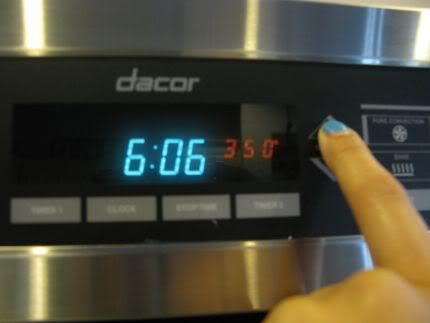
Pre-heat your oven to 350 degrees F.

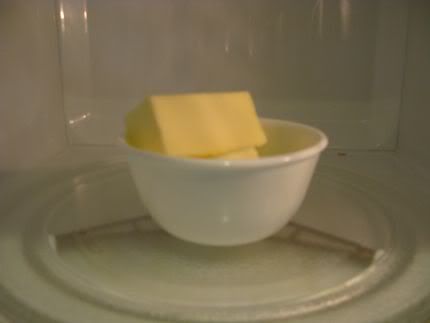
Place your 3/4 cups of butter, and soften it in the microwave (don't leave it!) You want it soft so we can cream it--not melted.

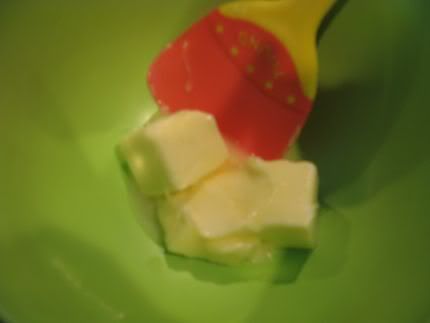
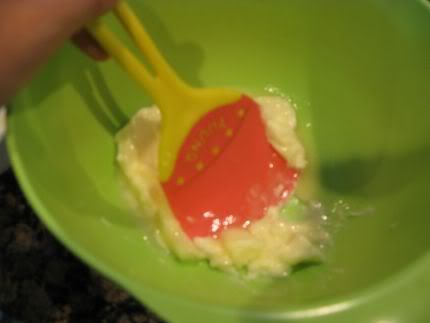
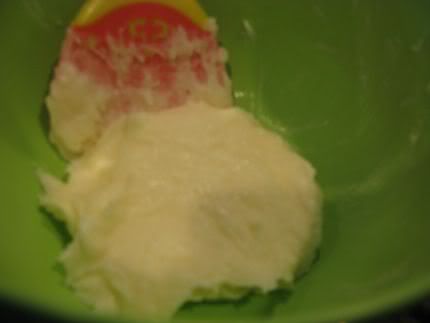
Once it looks like this, cream it with a plastic/rubber spatula.


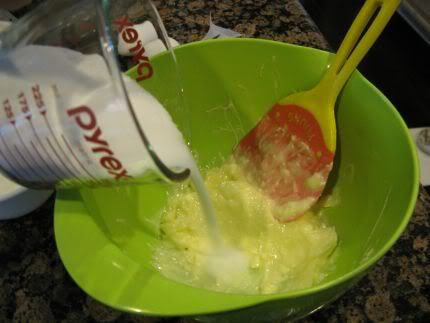
Add the 3/4 sugar to the butter mixture.

Use the "folding" technique, until you can't see the white color of the sugar.

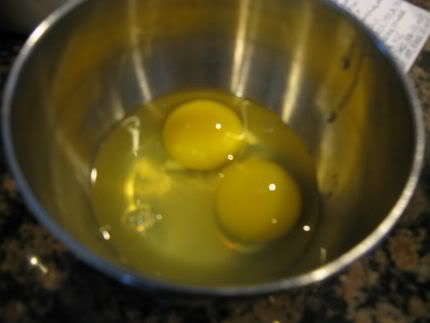
Crack two eggs in a separate bowl.

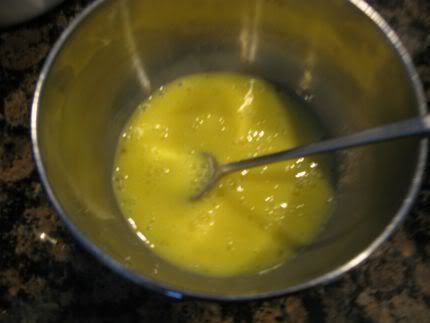
Whisk it with a spoon or fork till it becomes foamy.

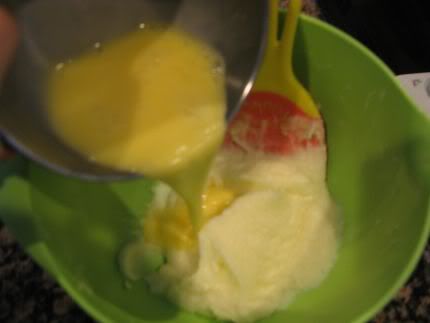
Add a little bit at a time, and use the folding technique again.

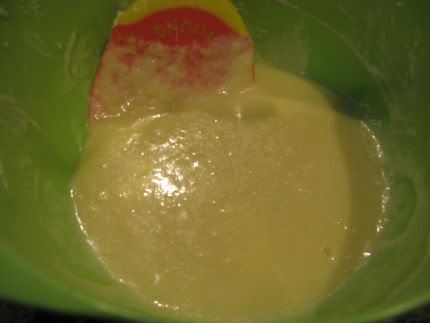
When It turns creamy like this, you know you're finished.

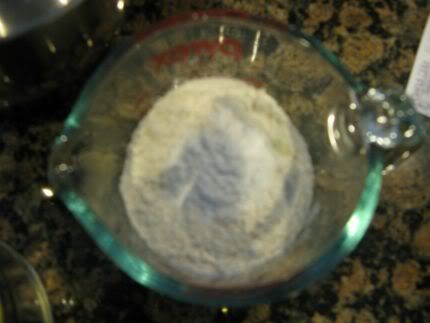
Now...add 3/4 flour and 1 tsp of baking powder into a sifter.

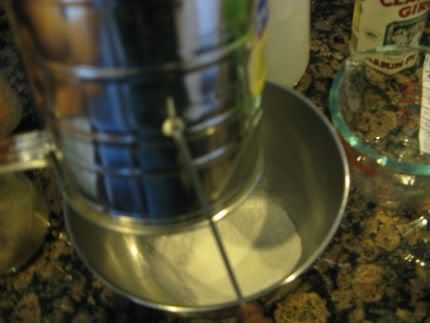
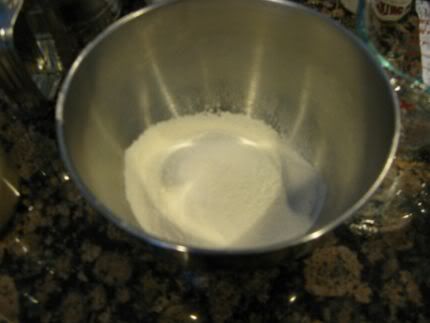
Sift away~!

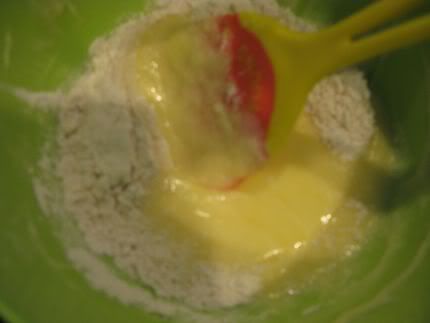
Add in the dry ingredients bit by bit, and fold it in again.

Your finished product with be on the thicker side, so don't freak out. (dough-y)

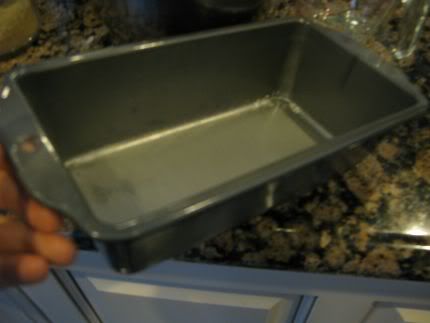
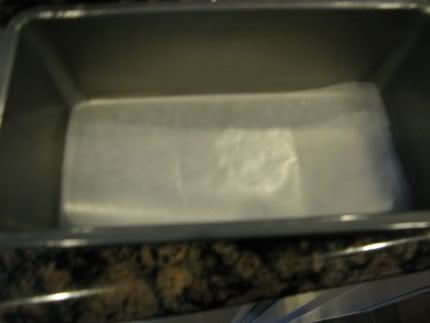
Now, get your baking pan, flip it over, cover it with wax paper, and cut out the shape of the bottom!

This way, it'll be a perfect fit.

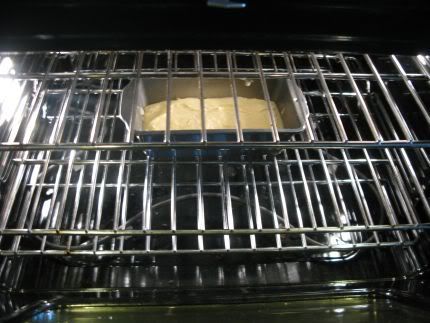
Add the dough to the pan, smooth the surface of it, and pop it into the oven! (the oven should be done pre-heating now)

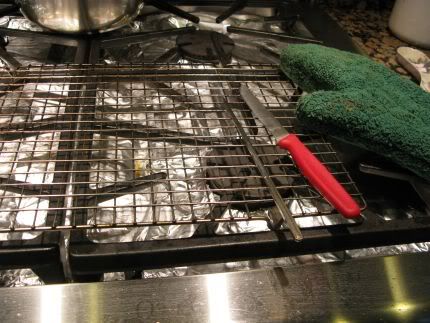
While it's cooking, set up a work place for the finishing touches: metal rack, knife, and oven mit(s).

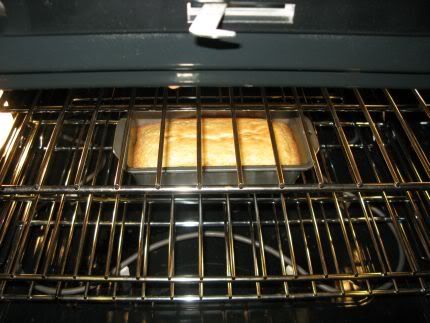
Bake for 20 minutes. By now, there's no way its done--just golden over the top, but fresh dough on the inside.

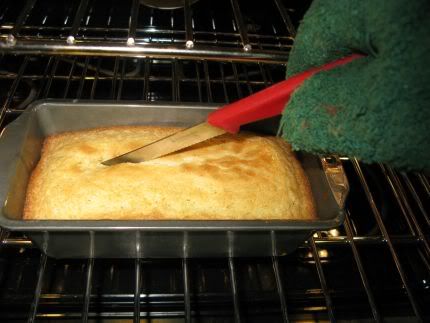
Get the knife, and cut a line across the top, leaving out the edges.

Now, bake for another 20 minutes, and you're finished! =-)

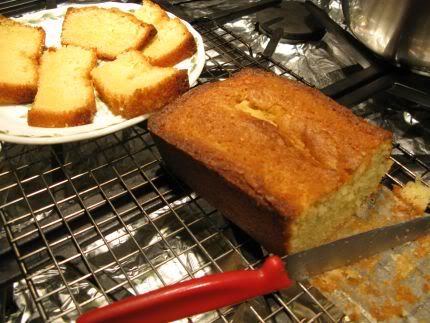
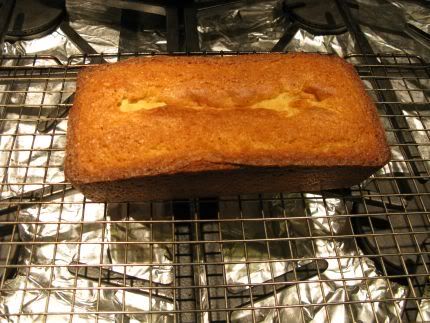
Set it on the cooling rack, for about 10-15 minutes.

We're finally finished!

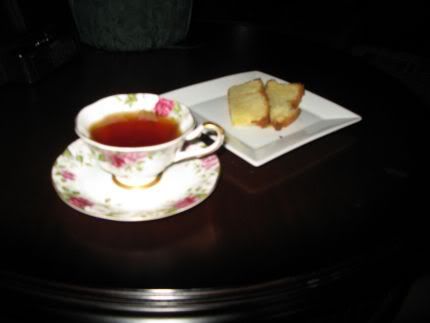
Serve it with your favorite tea, or black coffee. My favorite tea is Earl Grey Tea.


Hope you've enjoyed it, along with a great weekend! What better way to pass time while baking than to cam-whore it? =-) On a side note, I'm leaving for Seoul, South Korea tomorrow night! +_+ I'm SOO excited, but SOO not excited for the 14 hour plane ride, lol. Wish me luck!
Till next time~
-Jinna

Saturday, July 11, 2009

Tutorial: Spicy Udon Stir-Fry :) + Update

WOW. The day I made my last post, I wasn't feeling too well--I had left the windows open that night `cuz it was so damn hot! and the next day, I had a bit of a cough in the morning...but it went away after about 15 min. The next days, the cough kept coming back for about.. +10 min more a day!

Then finally, it took over. I was so sick, I've been literally in bed for a week+. I don't think i've ever experienced anything like that! I couldn't get any rest because I wouldn't stop caughing..! what the heck? I couldn't eat anything, because I just had loss of appetite; but I needed to eat to take medicine!

Overall, it was HELL. I've been getting better, and I can actually get up and sit at my computer desk without coughing continuously :p I have the SYMF competition on the 25th of this month, and I just lost a week of practice, including all of practice/technique i've improved on in the past month...I'm so frustrated. I better do well this competition! The stupid organization removed the Lalo Concerto in D Minor from the category I was going to go into, so now I have to play some ridiculous Hayden in C Major -.- to top it off, my teacher put me in the Bach Suites division w/o telling me! jee. thanks. Just another piece to work off my arse.

well, enough rambling--here's a cool recipe that my oldest sister taught my mom for a church gathering, but turned out to be so awesome that she made it for me as dinner once =) I managed to get the camera and take tons of pictures of her making it x)

I don't have a list of ingredients and supplies this time, but just follow along the pictures ;)
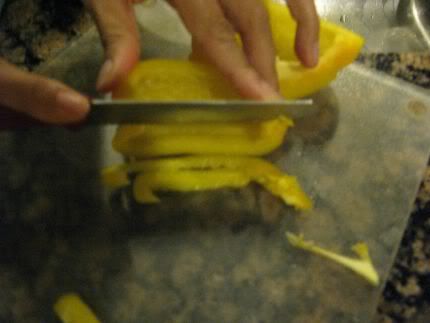
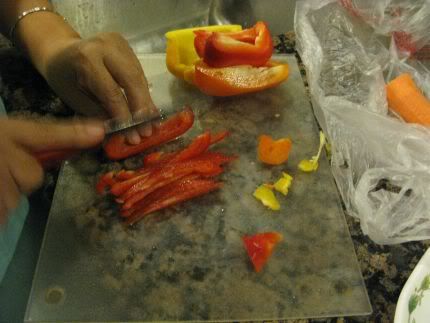
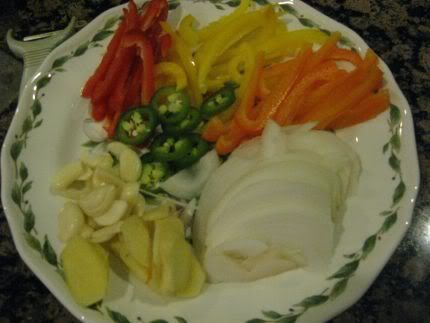
Cut up different types/colors of bell peppers; they all taste very different!


Also, cut up some jalapenos, and half an onion.

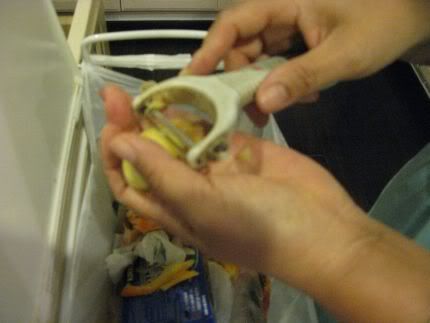
Get a potato peeler, and use it to peel and cut up some ginger! (this is an important ingredient--I hate ginger, so I didn't use it once, but I didn't get the same taste..!)


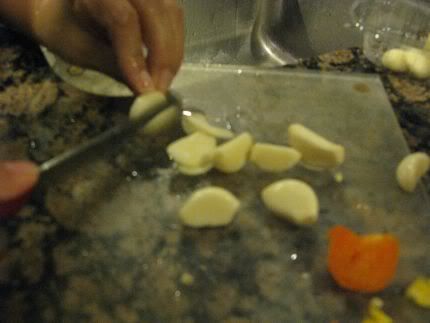
Don't forget the garlic cloves!

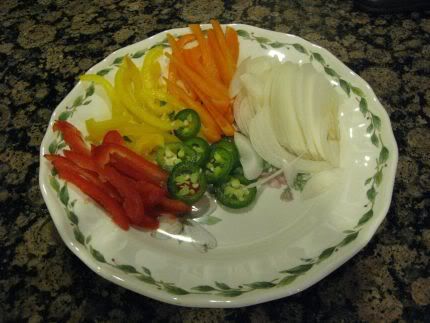
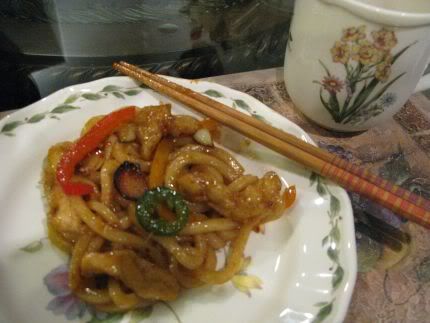
Here's our finished plate:

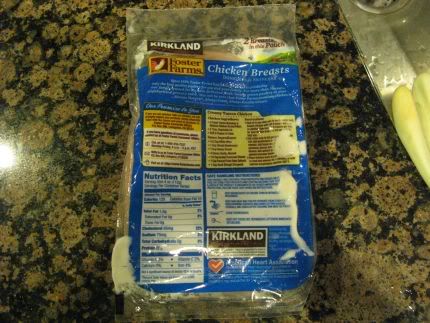
Now take some defrosted chicken breast--I got this at Costco :)

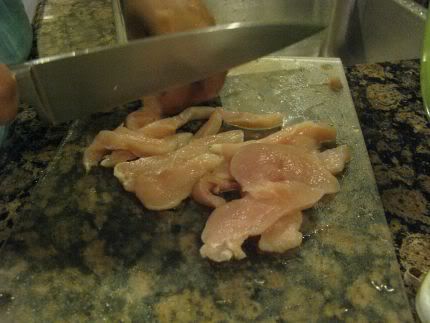
And cut it up into fine thin strips--about an inch wide.

And.. here's Sebastian getting all in the way :) <3
Put the chicken strips into a bowl, add salt/pepper as well as an egg.
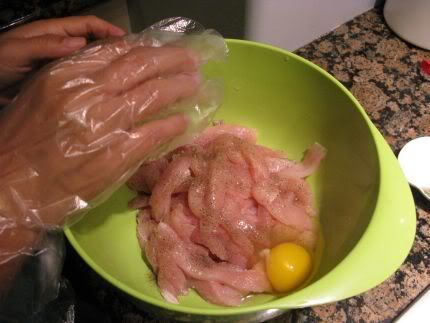
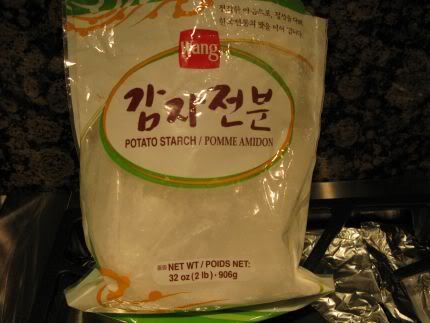
Take some potato starch powder, and add it until it becomes a gooey blob of chicken--you'll know when.


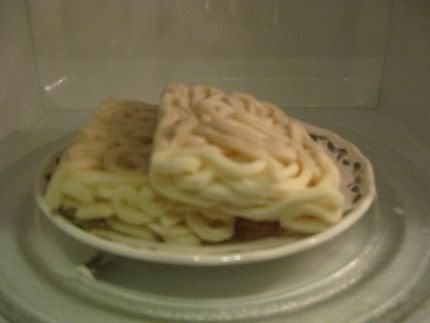
Now, take some udon--I used 2 because it was for 2 people. And Remove it from the plastic rapping.

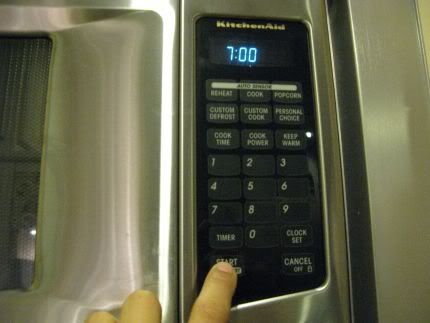
And stick it in the microwave for 5-7min (depending on your microwave); we're not only defrosting it, but cooking it as well in the microwave, so that's why it's going to take a bit.


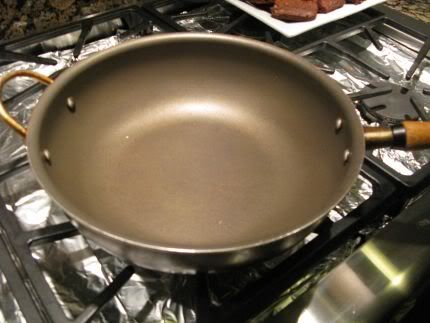
Now, taking a wok/deep, wide-set body frying pan, fill it up with a cup of vegetable oil.


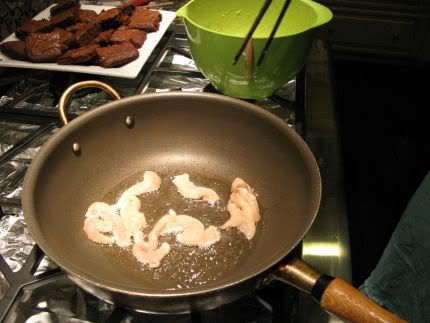
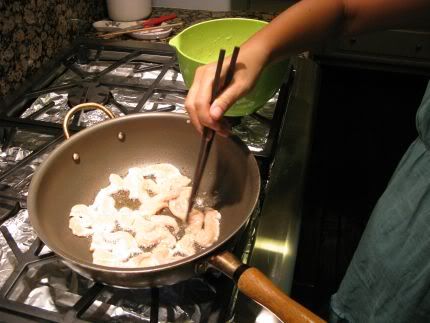
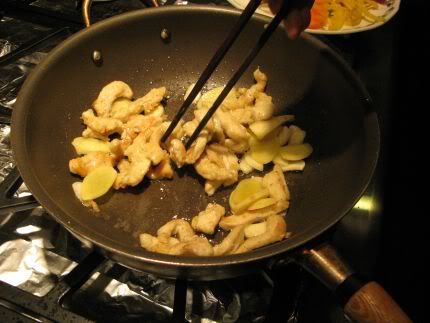
Now, add and fry that chicken!

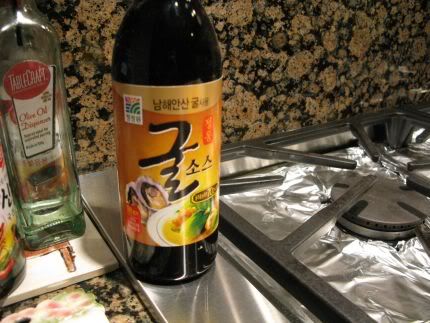
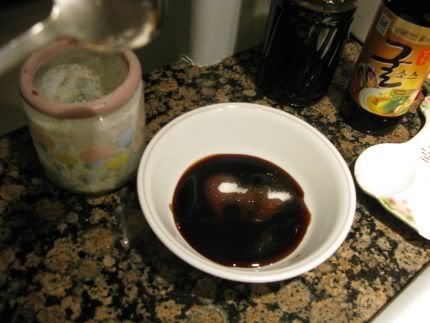
Next, take some oyster sauce, and dilute it with regular soy sauce. The amount will differ on how much you're making, but basically, keep in mind, there will be twice as much soy sauce than the oyster sauce. (ie. 3 tbsp oyster sauce, 6 tbsp soy sauce)

Add some sugar--I added 1 1/2 tbsp since it's just me and my mom; remember, always add more as you go on, since it's always easier to add, but harder to dilute it.

Add 2 tsps of minced garlic.

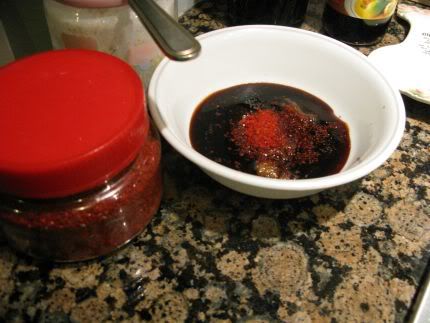
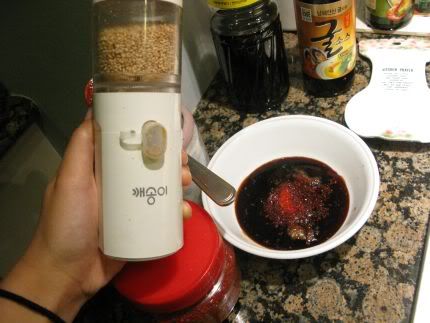
Some chili/red pepper powder...


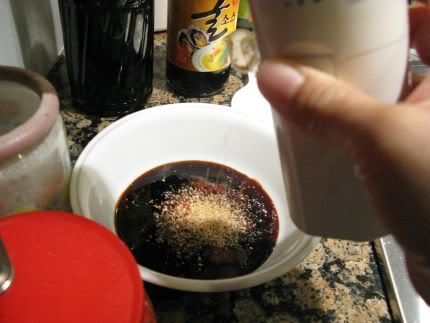
Using a sesame seed grinder, put a good amount it. (It's okay if you don't have one, just add the seeds in whole)

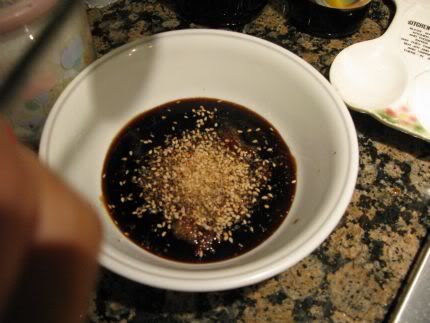
Also, add a couple whole ones in there.

Mix it all up~

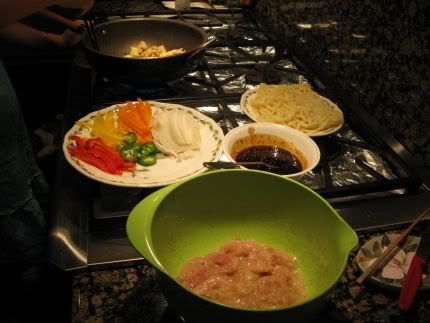
Now, let's get started! ...Well, finish it! By now, the udon should be cooked and brought out.

Once the chicken is cooked, add in the garlic & ginger.

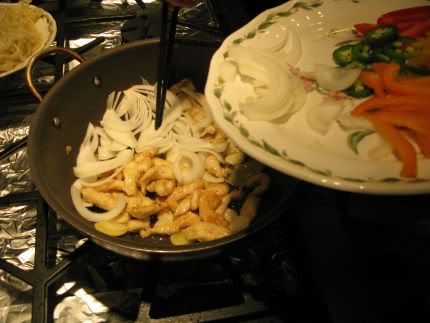
Add the onion...

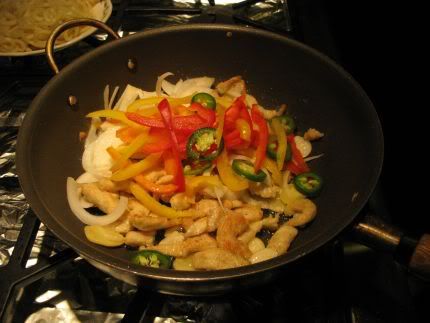
And add in all of the other ingredients!

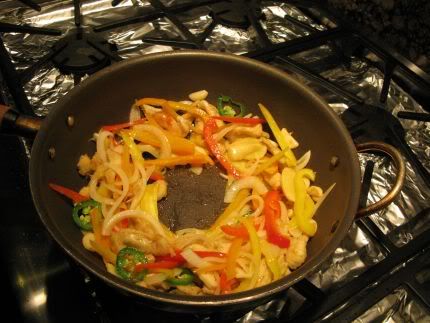
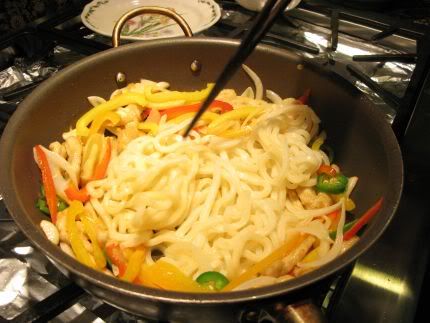
Once it's all cooked, create a small circle in the pan...

Add the udon in the center...

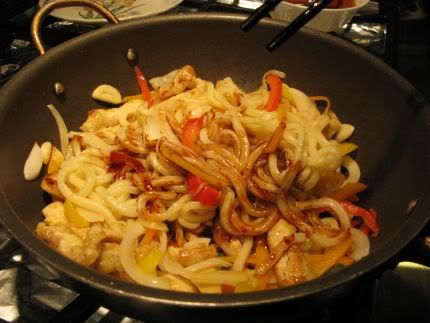
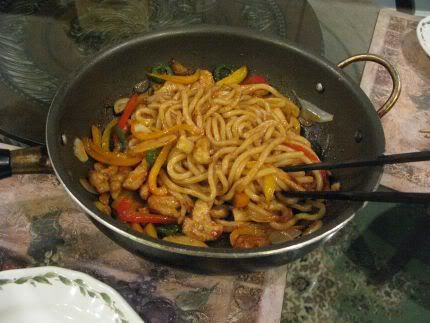
And add the sauce, mix it all in, and cook it.


Finished! yumm :)


And.. a special thanks to my mom for cutting up all the veggies and doing the boring parts! =)


ROFL, he was getting upset that we weren't giving him any goodies to eat while cooking :p He refused to get up from that spot, lol.

I did make some Tiramisu, an Italian desert, but I couldn't find my camera, and didn't take any pictures--but i'll make sure to find some substituting pictures and post a tutorial on that~
Also, I've been trying out a DIY egg mask for a couple weeks, and i'm liking it so far, so i'll post that up too!


Till next time!
~Jinna
Related Posts Plugin for WordPress, Blogger...